Table of Contents
Setup your data sheets
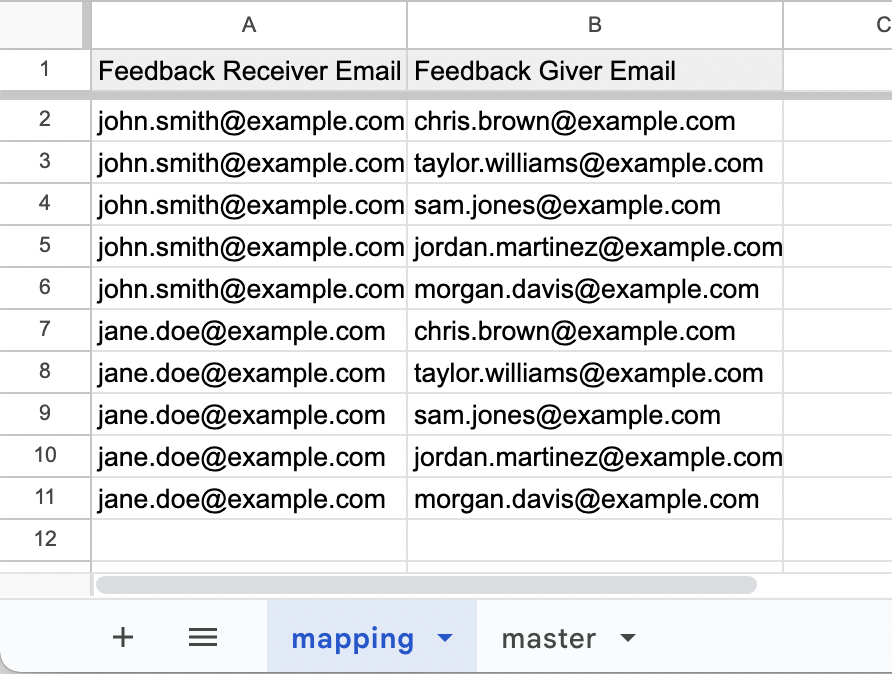
To get started, create a sheet named ‘mapping’ with the following columns:
- feedback receiver email
- feedback giver email
If there are multiple feedback givers for the same receiver, list them in separate rows while keeping the feedback receiver unchanged. Optionally, include a ‘form’ column if you are mapping multiple forms.
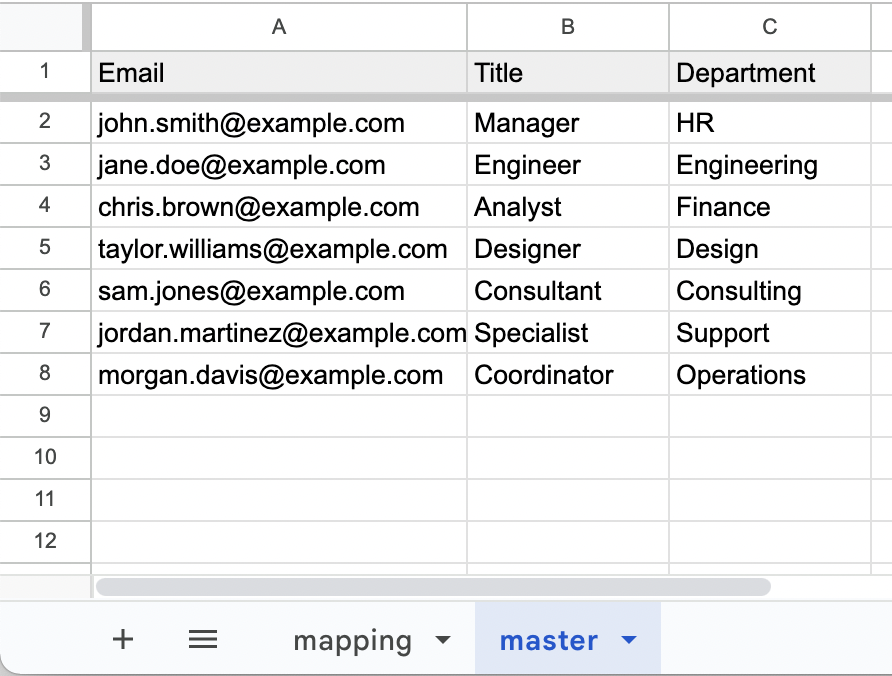
To enhance functionality, add a sheet named ‘master’ to store additional data for feedback receivers and givers. The only mandatory column is ’email’, but you can include additional columns like title, department, etc., to personalize notifications and reports.
Add and Manage Forms
Forms screen lets you set up Google Forms to collect 360-degree feedback seamlessly. Here you can add Google Forms for each feedback type (e.g., peers, managers, subordinates).

You can design Google Forms for collecting feedback with any types of questions according to your requirements. When sending forms, Feedback 360 doesn’t modify your form design or questions. It only adds a ‘Feedback receiver email’ field as the first question, which is pre-populated in the notification messages.
You can also use Form Settings to control the user experience of feedback givers. This allows you to restrict feedback receiver emails to specific domain patterns (useful for limiting feedback receivers to your company or specific domains).
This screen lets you add new forms and manage existing forms with operations such as:
- Opening the Google Form in edit mode
- Controlling form-specific reporting settings
- Removing an added form
Note: Removing an existing form doesn’t delete it from Google Forms - it only unlinks it from Feedback 360.
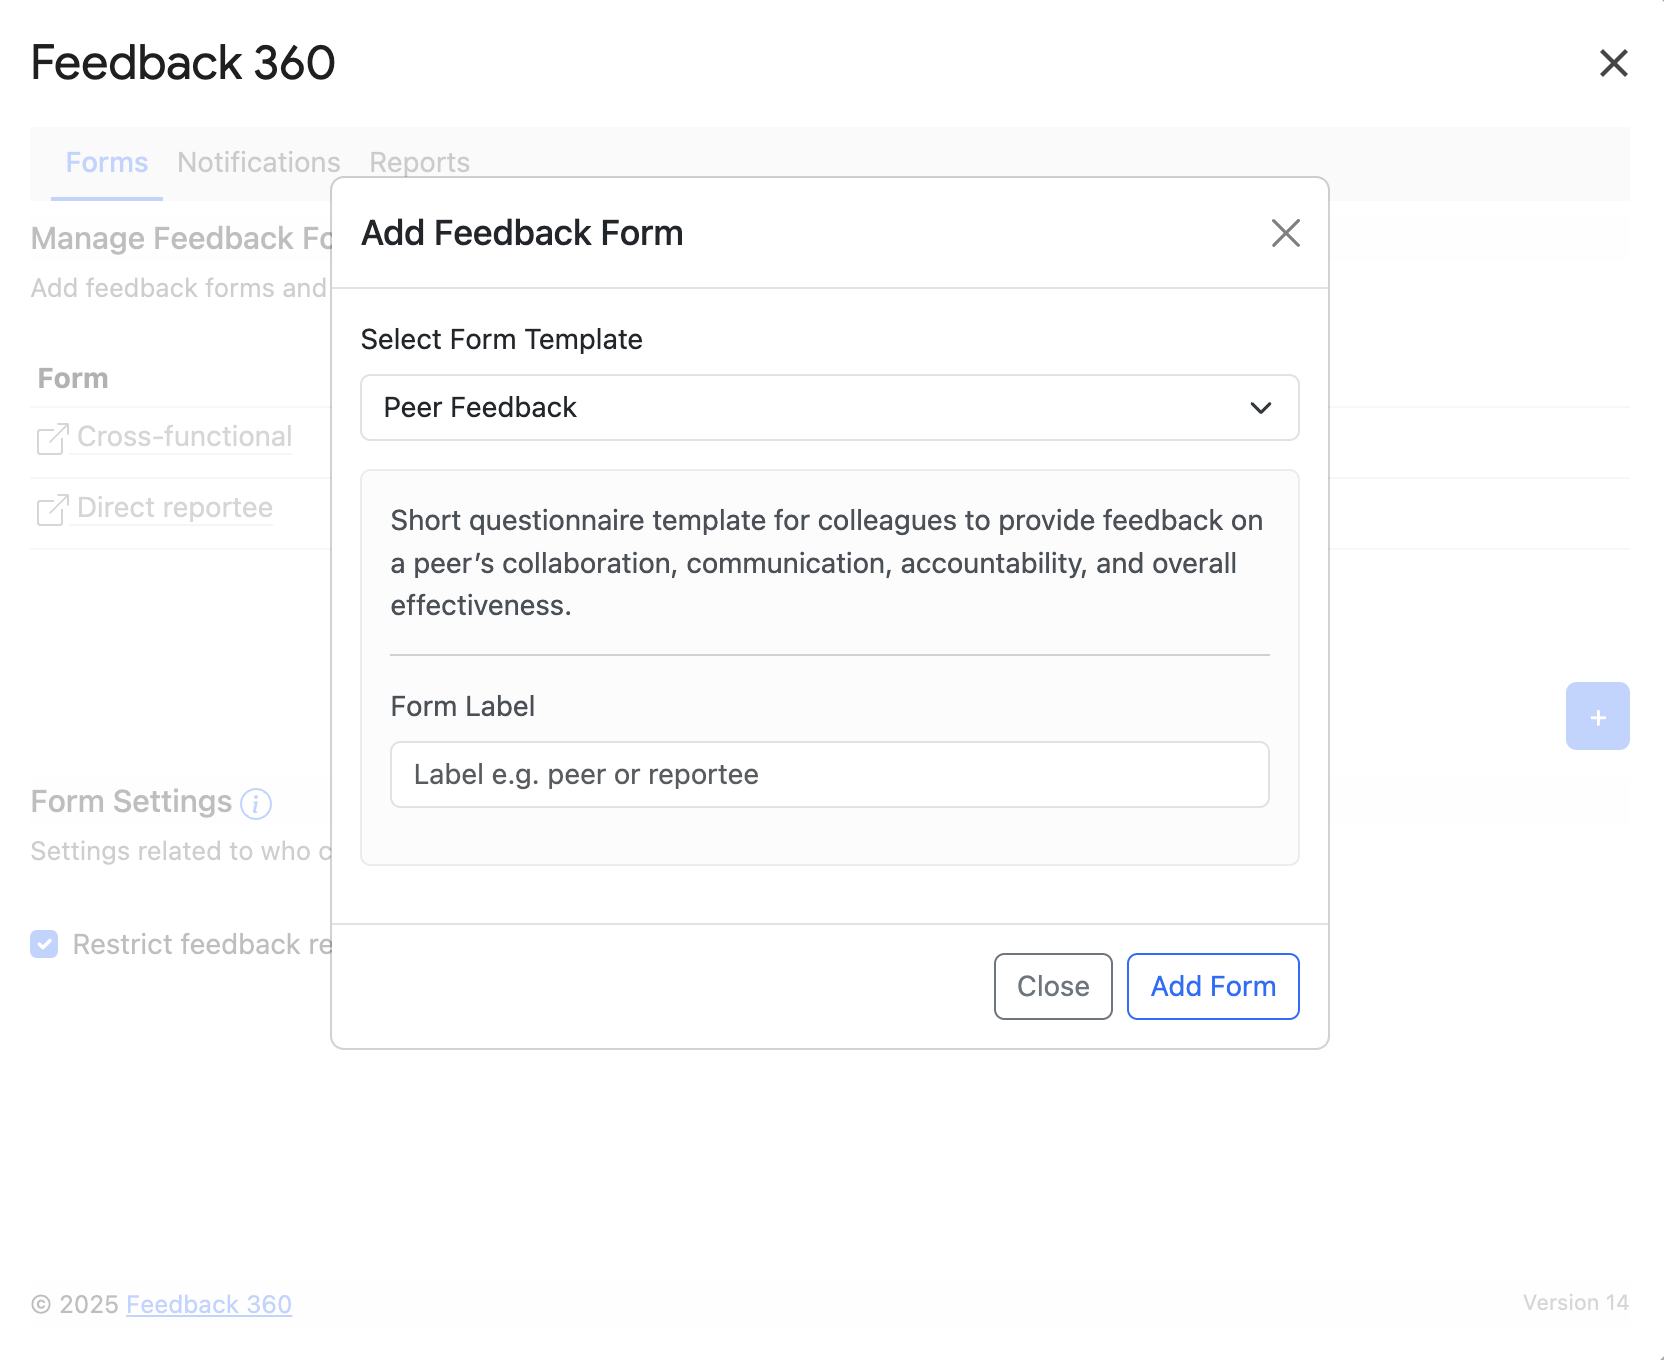
You can use the available forms or you can also add your own Google Form using either the Form ID or the Google Form's Edit URL. Copy the URL from the edit page of the Google Form. You need to be the owner or have editor access to the Google Forms you're adding.
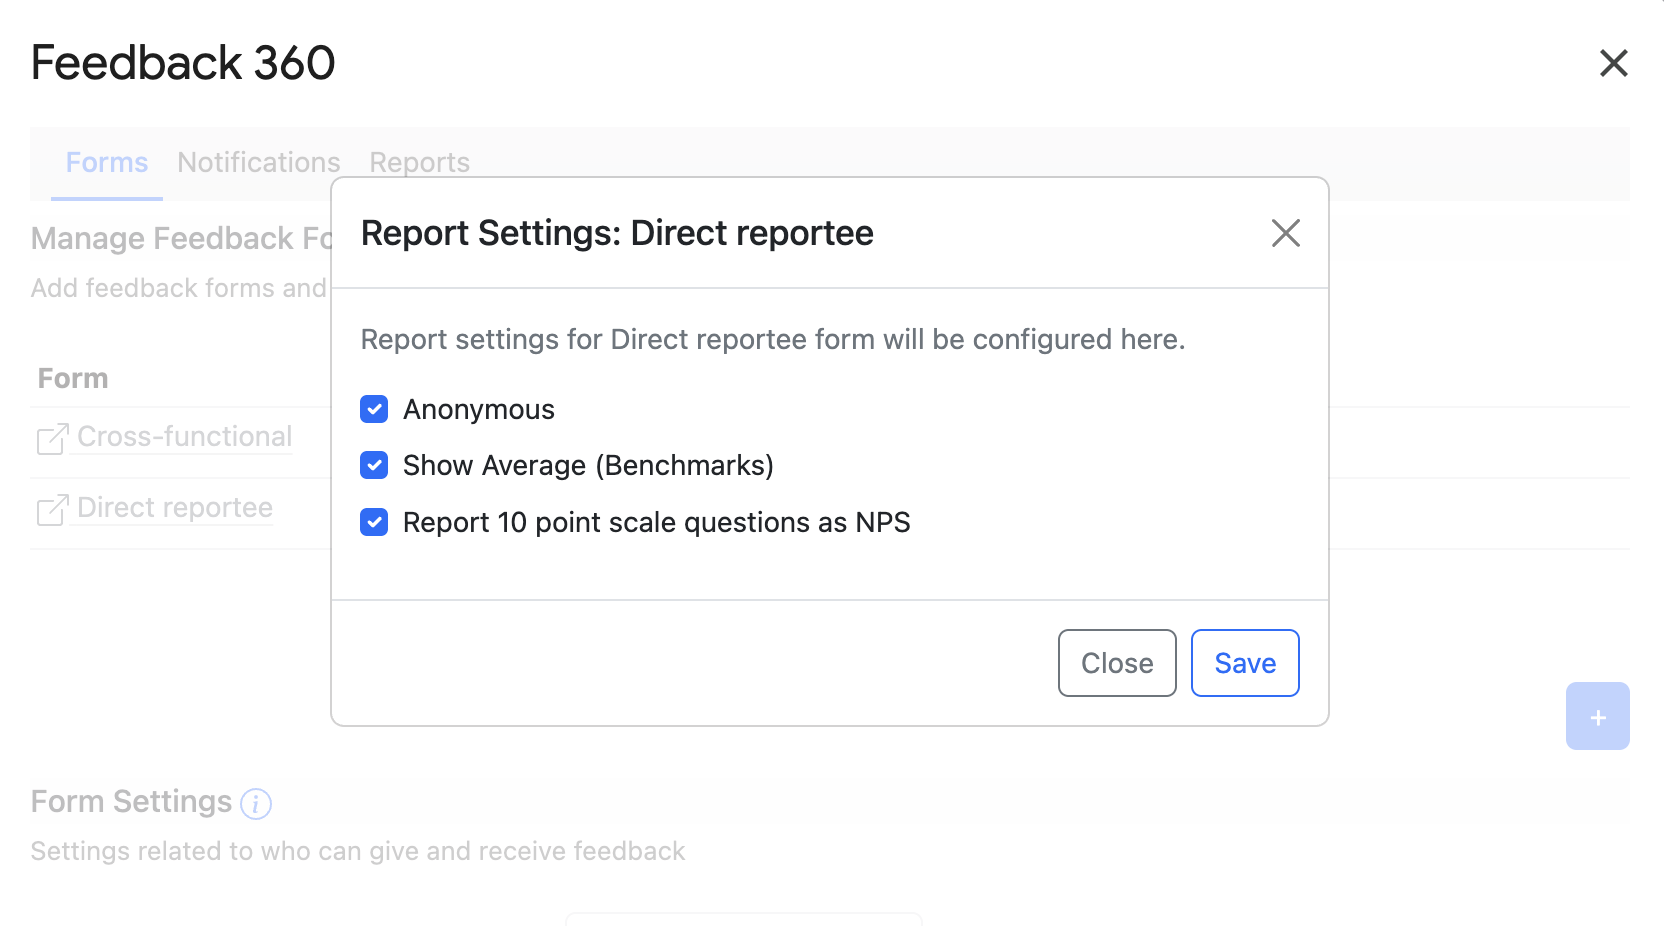
For added forms, you can configure the following settings for Feedback 360 reports:
These settings can be controlled separately for each added form.
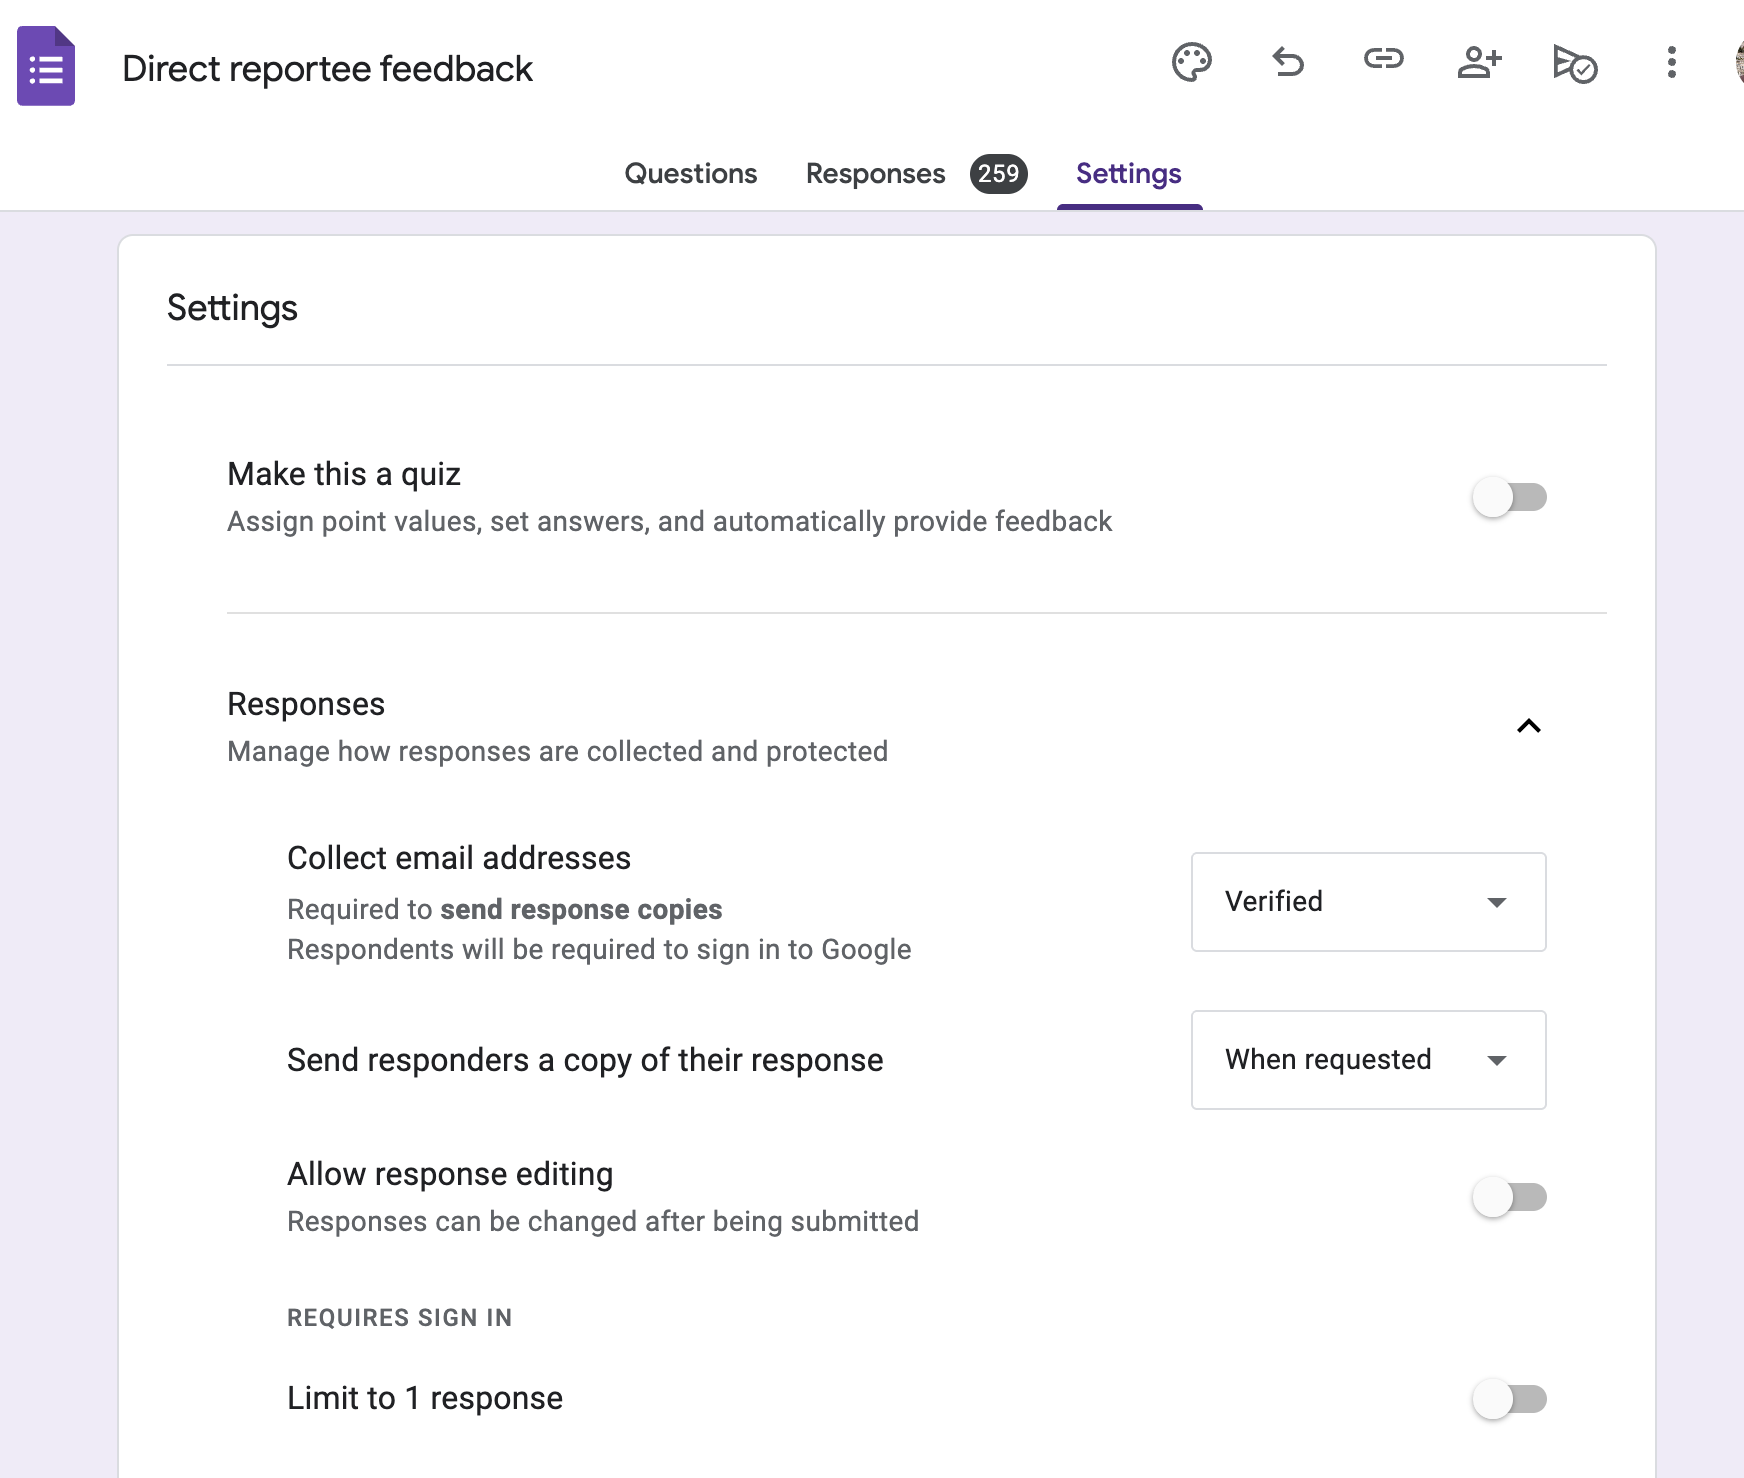
After adding forms, make sure that the setting ‘Collect email addresses’ is set to ‘Verified’ in the form settings. This will need respondents to sign in to Google to respond, thus ensuring authticity of responses. However, also note that this should only be used if all respondents are known to have a valid Google account.
You can use form labels from added forms in the mapping sheet’s ‘form’ column to assign specific feedback givers for better report organization. If you only have a single Google Form attached, it’s used as the default form - no need to add a form column.
Important: For all forms you add, Feedback 360 automatically appends a special ‘Feedback receiver email’ field as the first question. This field must not be deleted for the add-on to function properly.
Supported Question Types
Specific Google Form question types can be used to report data objectively using graphs, charts, and special features like average benchmarks and NPS reporting. These supported question types are:
- Checkbox - Reported as Bar Chart. Supports Average Benchmarks.
- List - Reported as Bar Chart. Supports Average Benchmarks.
- Multiple Choice - Reported as Bar Chart. Supports Average Benchmarks.
- Grid - Reported as multiple Bar Charts for each row of grid. Supports Average Benchmarks.
- Rating - Reported as Star Ratings. Supports Average Benchmarks.
- Scale - Reported as Bar Chart. Supports Average Benchmarks. 10-point Scale questions can also be reported as Net Promoter Score (NPS).
All other question types, including Text, are reported as verbatim text responses.
Send Notifications
The Notifications screen lets you create personalized email and Slack notification reminders to send to feedback givers.

Here are the details of various fields in this screen:
- Sender Name: Customizes the name field in notification emails or the display username of the Slack bot
- Subject: Used as the subject line of the notification email
- Notification message: The message body can be customized using basic visual formatting (Bold, Italic, Links, etc.). You must include the
{{feedback_receiver_list}}placeholder, which will be replaced by the feedback receiver list with links to Google Forms for providing feedback - Feedback Receiver List Item Template: Used to customize each item in the feedback receiver list. You can use available placeholders to customize this. Placeholders other than
{{Email}}are only available if you have data populated in your master sheet
Notifications can be sent via email and Slack bot:
- Email notifications are sent from the email address using the Feedback 360 add-on
- Slack bot notifications require a valid Slack Bot API key
You can also schedule notifications as daily reminders to be sent at a specific time of your choice using the ‘Schedule’ button.
Note: Notifications are only sent to feedback givers who haven’t completed their feedback tasks.
Generate Feedback Reports
The Reports screen lets you generate and email feedback reports to designated recipients. This screen also allows you to configure how feedback is consolidated and displayed in the reports.

Feedback Giver & Receiver templates allow you to customize how names appear in reports using placeholders. You can use available placeholders to customize this display. Placeholders other than {{Email}} are only available if you have data populated in your master sheet.
You can bulk send feedback reports for multiple feedback receivers to designated recipients via email. Multiple feedback receiver emails can be added (one email address per line) for bulk sending. You can also provide a list of multiple comma-separated email addresses in this field.